
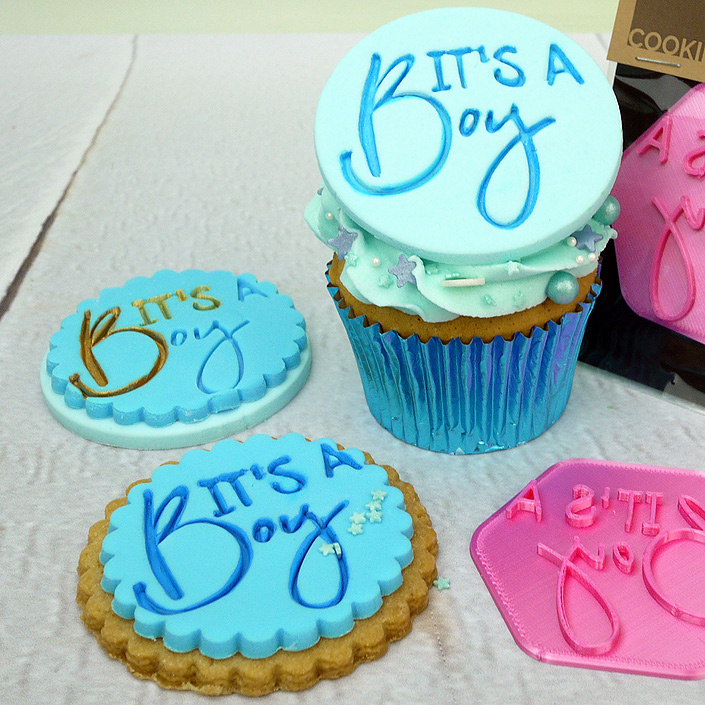
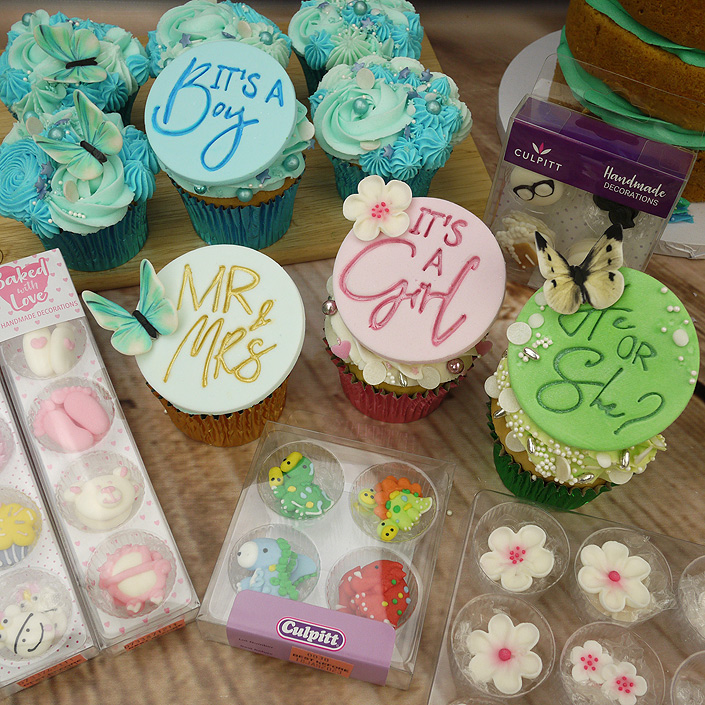
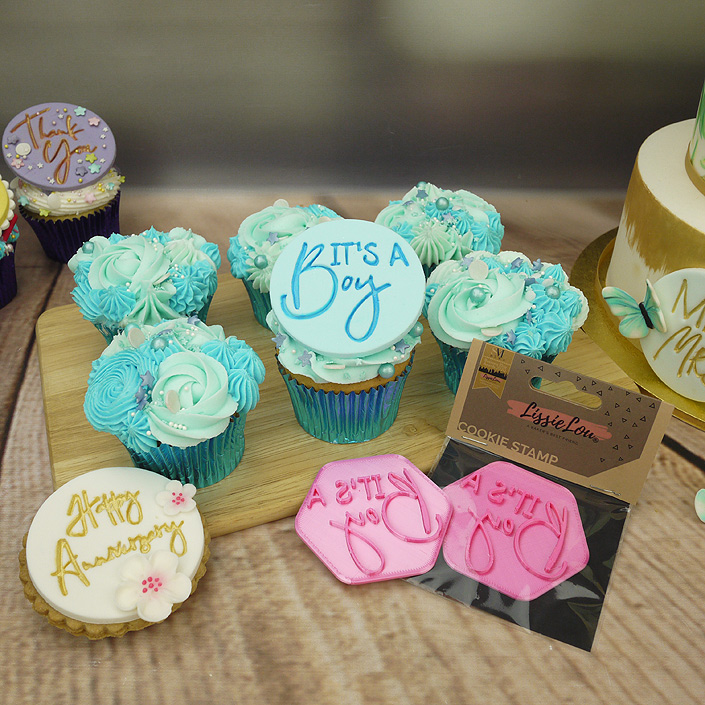
These Lissielou embossers are perfect for personalising an event or occasion on your cupcakes, cookies, cakes and even traybakes. There are different messages to suit birthdays, baby showers, weddings, anniversaries, and a generic ‘celebration’ that could be used for other events such as graduation etc.
Simply emboss on a freshly rolled out plaque of icing then decorate and paint to suit the colour theme – one propped up on a cupcake or traybake just makes them look that little bit special!
.
You will need:
Equipment
Lissielou embossing stamps
Small non-stick rolling pin
Palette knife
Fine brush
Reversible round cutter set
Dusting pouch (containing cornflour or icing sugar)
Edibles
Sattina sugarpaste or Sattina 50/50 modelling paste
Decorations of choice
Sprinkles
Edible glue or Royal icing (optional)
.
Step 1. Making The Plaque
First, let us talk about the type of icing you need to use! If you are decorating cookies you will want the icing to stay soft so use sugarpaste (also known as fondant or roll out icing for covering cakes). If you are decorating cupcakes, a traybake or making a cake topper – you will want the plaque to set firm so that it keep its shape and can be propped up, so use a modelling paste.
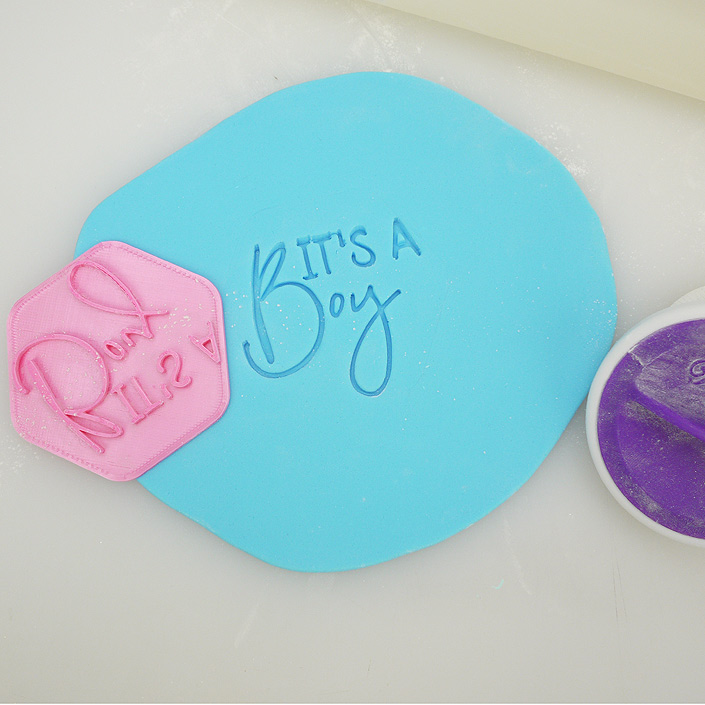
Whichever medium you choose, roll the icing out on a surface sprinkled with icing sugar or cornflour to around 5mm in thickness. Place the embosser carefully onto the icing and press down lightly to emboss the message onto the icing.
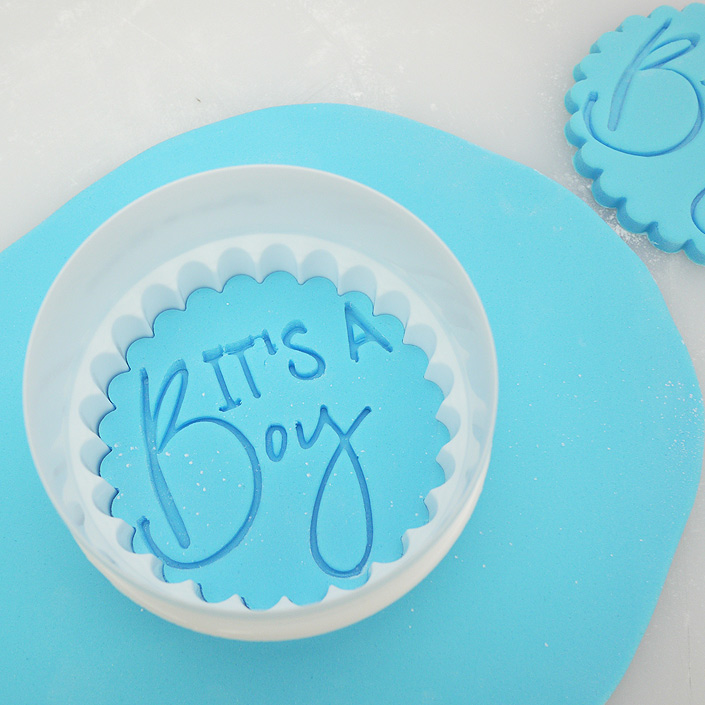
Take a round cutter large enough to encompass the message and carefully position so that the message sits perfectly in the centre.
The reversible round cutter set allows you to choose between a plain circle and a scallop edged circle and comes in different sizes too!
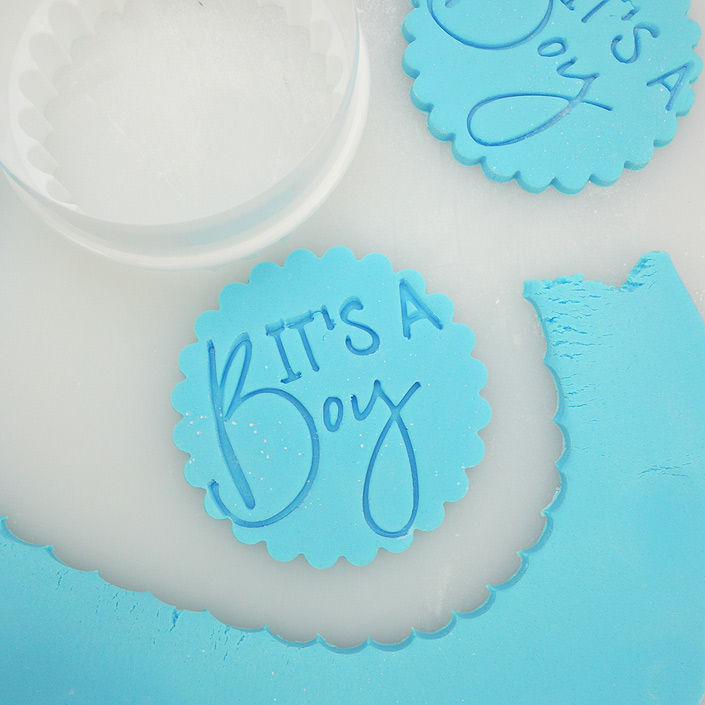
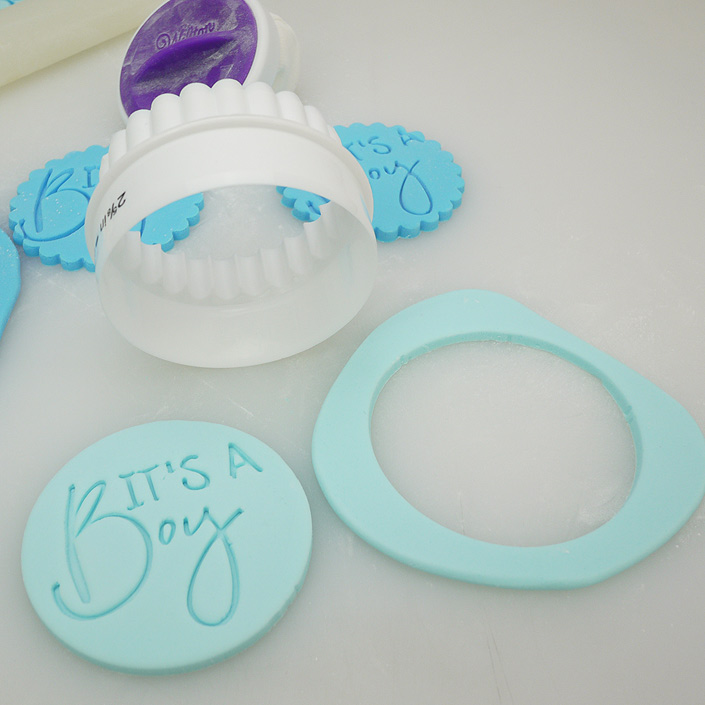
Press the cutter down firmly, give it a gentle wiggle to obtain a clean cut then remove the excess icing around the outer edge of the cutter. Lift carefully with a palette knife and pop onto a cake board or chopping board to set for a few hours or overnight.
.
Step2. Embellishing The Plaque
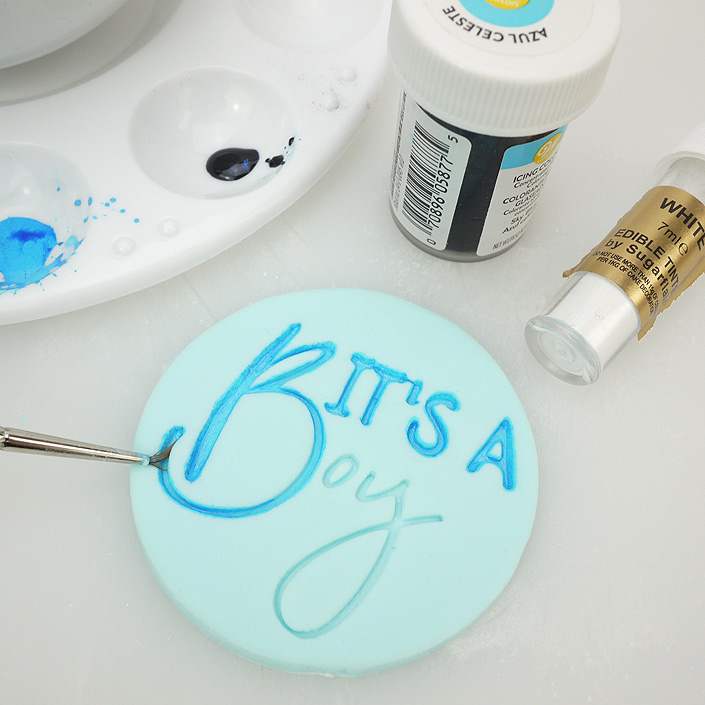
Use edible food colouring and a fine, good quality paint brush to carefully paint within the embossed message on the plaque. We have used the Wilton Sky Blue paste food colouring mixed with a few drops of water and a little Sugarflair White edible tint powder.
Handy Hint
If you use a water-based food colouring, mix with water to form a paint – Wilton and Colour Splash food colourings are water based. If you use an alcohol-based food colouring, mix with rejuvenator spirit or alcohol to form a paint – Sugarflair and Rainbow Dust ProGel food colourings are alcohol based. Powder colours can be mixed with either water, rejuvenator spirit or alcohol.
To attach any other decorations, use royal icing or you can mix a few drops of water into a small ball of sugarpaste to make it into a sticky icing which will work just as well. To attach sprinkles, brush a little edible glue over the plaque then sprinkle away!
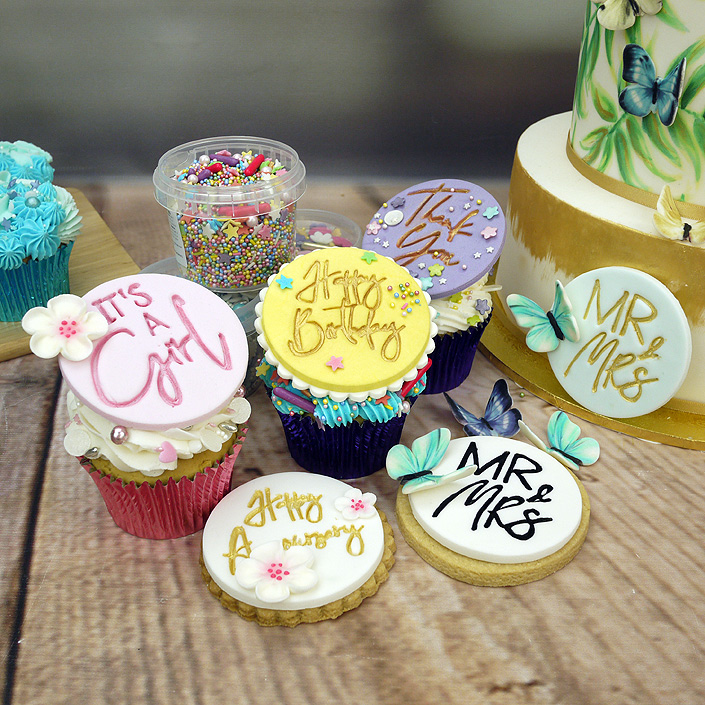
Leave the plaques to dry then pop onto your edible treats. If you are decorating cookies, first spread the cookie with a layer of jam, lemon curd or chocolate spread and then place the plaque on top, pressing down lightly so that the filling does not squeeze out around the edge. For cupcakes, lean the plaque against the frosting or use an extra dab of frosting to keep it in place (the same with cakes and traybakes). If placing onto a sugarpaste covered cake, attach with edible glue or royal icing.
.
.
Cake Craft World our ideas, your creations
.
.
.
.