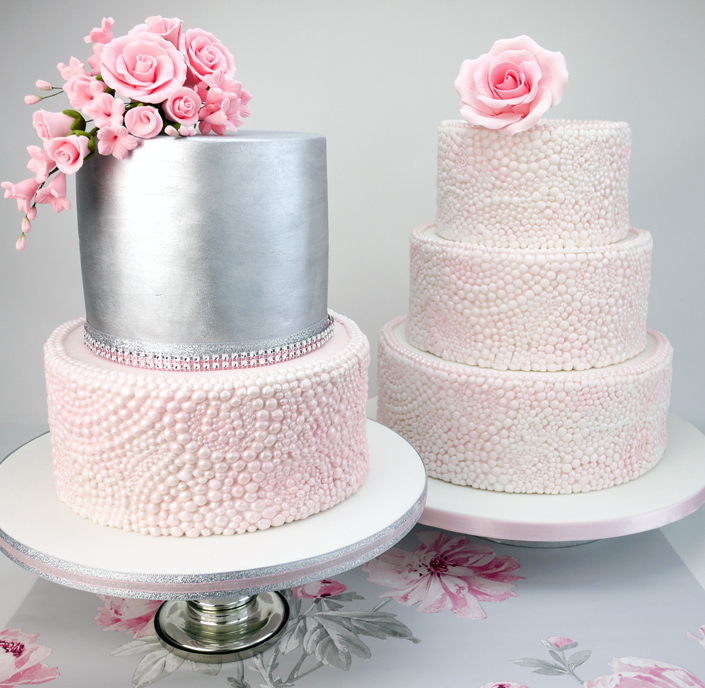
We love the range of Karen Davies moulds that includes an incredible ornate pearl effect mould and a pearl border mould. Take a look at how we have used these moulds to completely transform two simple cakes into a couple of stunning showstoppers!
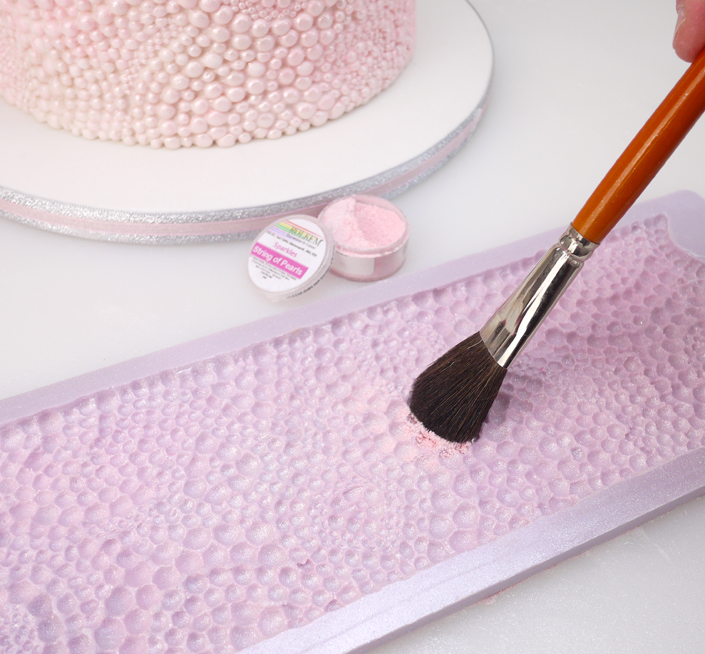
Step 1.
Use a dry brush to cover the entire mould with a generous amount of ‘String of Pearls’ edible dust.
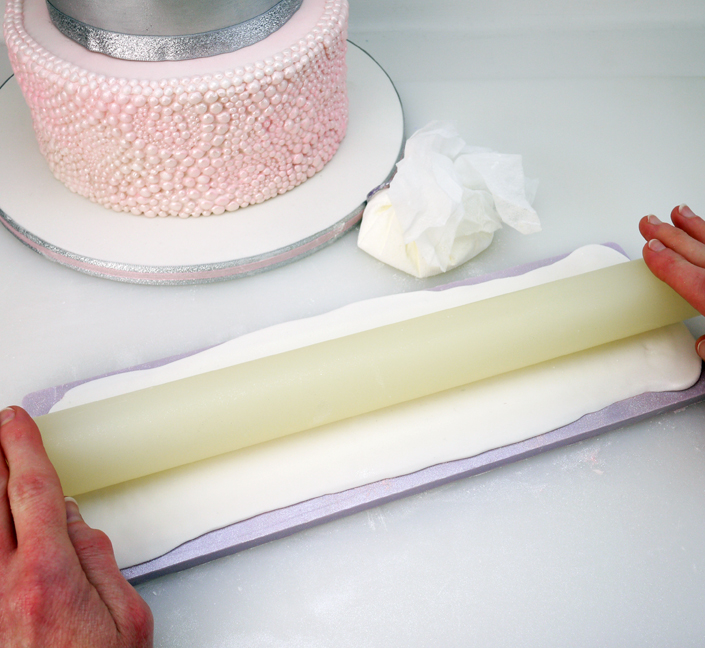
Step 2.
Dust your work surface with a cornflour pouch. Take approximately 250g of Sattina Perfect Paste and shape it into a thick sausage with your hands. Use your rolling pin to roll out your paste slightly, before placing it onto the mould. Roll the paste out further, so that it completely covers the surface of the mould. Press down quite firmly, as you want to ensure the paste takes the shape of the mould.
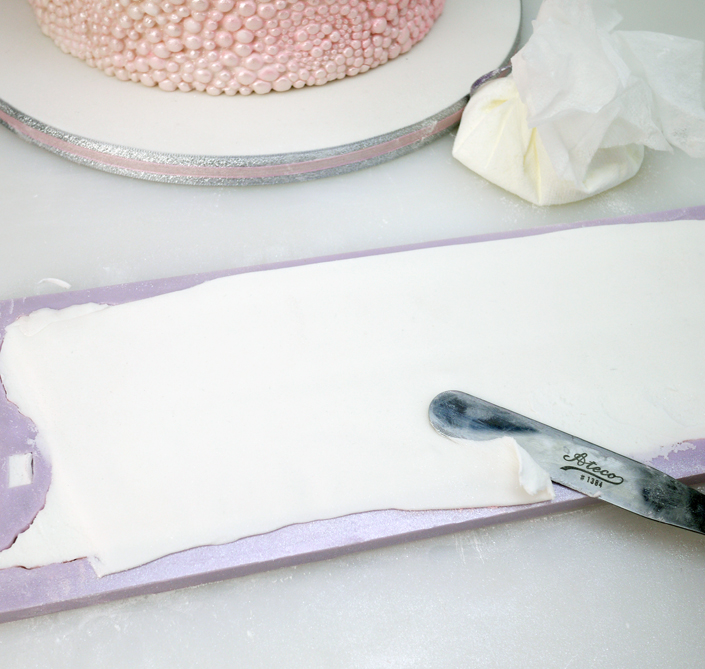
Step 3.
Use a palette knife to remove the excess paste from the edges of the mould.
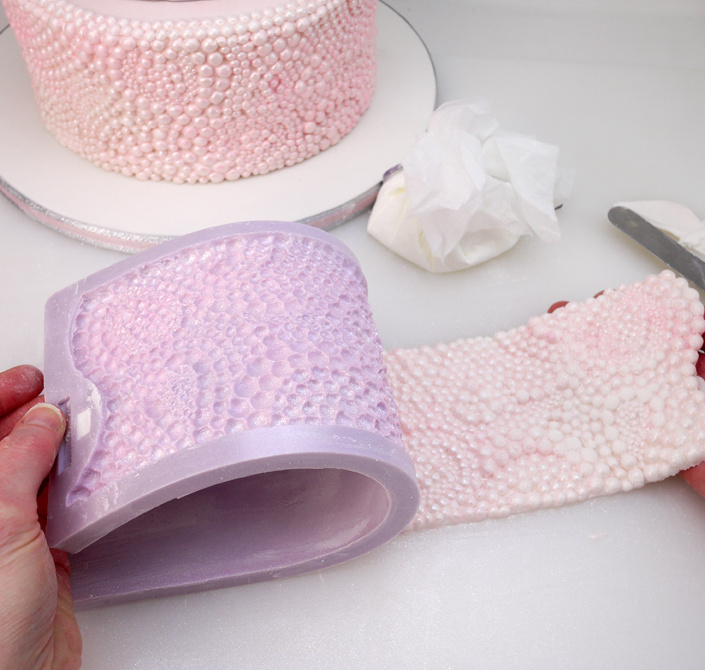
Step 4.
Flip the mould over and gently peel away to reveal a sparkly slab of beautiful pearls.
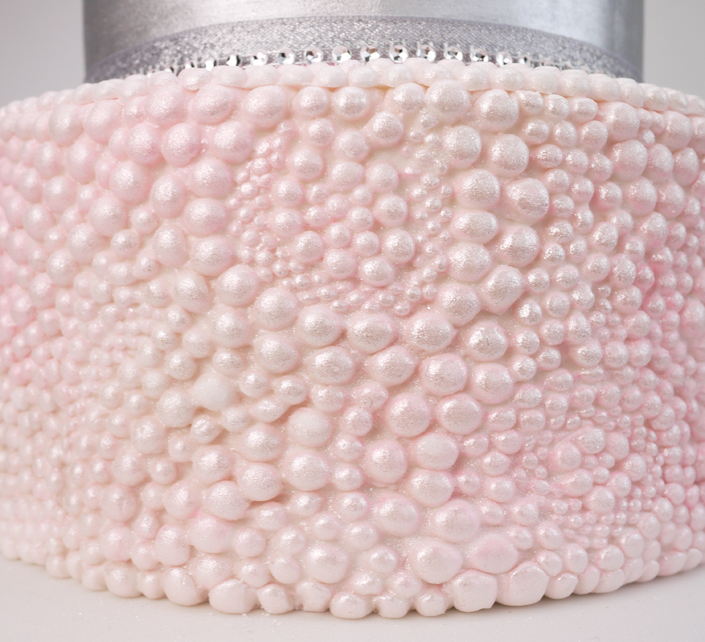
Step 5.
Attach it to the sides of your cake using edible glue or royal icing. You can intensify the colour by dusting on a little more edible dust after it has been attached.
Step 6.
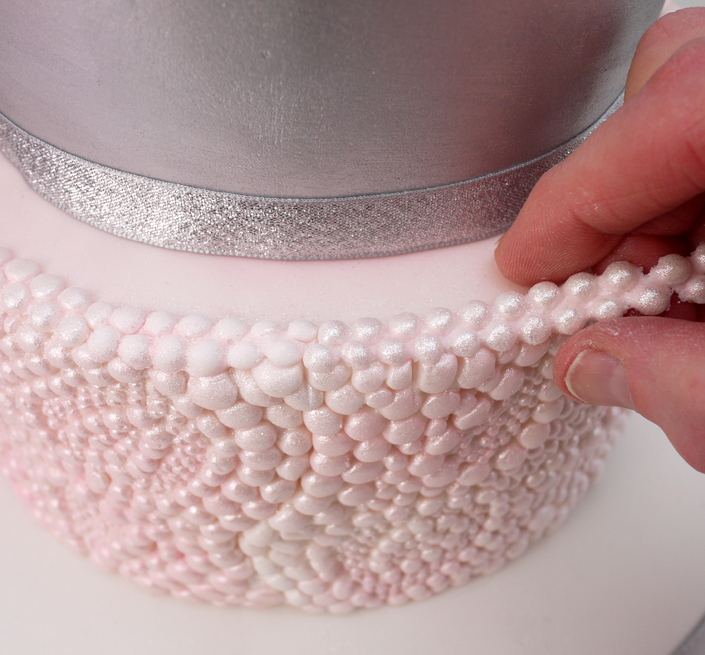
Create shimmering pearl borders to go around the top edges of your cake in exactly the same way using the Pearl Borders mould.

Step 7.
Carefully attach the pearl borders to the top edges of your cake using edible glue or royal icing. You could add a top tier like we’ve done and use it as a perfect opportunity to drench it in the stunning Super Silver metallic food colouring by Rolkem. Top your cake with a beautiful sugar flower spray to finish off a showstopper that’s perfect for any wedding, engagement party, or birthday party!
Handy Hints
Tap your mould onto your work surface after dusting it to distribute the colour across the mould more evenly.
Layer up ribbons to create a completely different look! We layered a glittery silver ribbon with a pink ribbon to match the colour theme of our cake.
Feel free to remove the leaves from flower sprays to leave a simple flower head on it’s own like we’ve done with our pink peace rose.
What we used:
Karen Davies Ornate Pearl Effect Mould
Karen Davies Pearl Borders Mould
Rolkem Sparkles Range ‘String of Pearls’ Sparkly Edible Dust
Rolkem Super Silver Metallic Food Colouring Lustre Dust
Flat brush no.5 P18
Cornflour pouch
Sattina Perfect Paste
Rolling pin
Palette knife/blunt knife
Edible glue OR royal icing
Silver lame ribbon
15mm satin pale pink ribbon
7mm pink ribbon
6mm pink sheer ribbon
Silver plastic diamond trim
Handmade sugar baby pink rose & dogwood spray
Large pink icing peace rose
12” and 14” cake boards
Cake cards (for separate tiers)
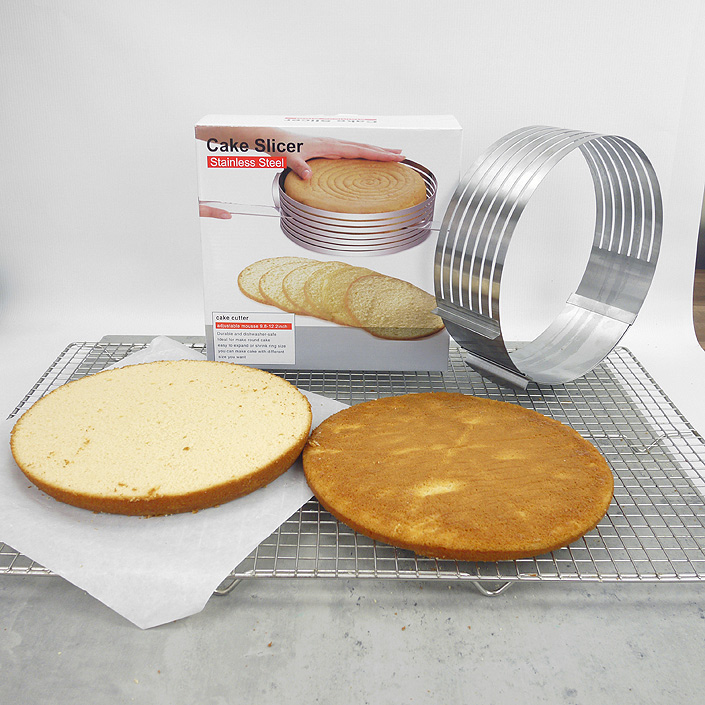
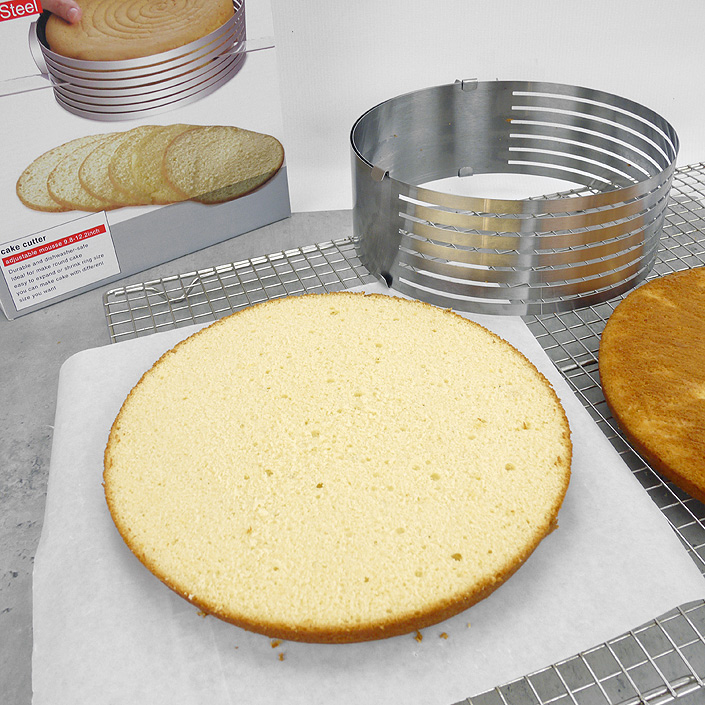
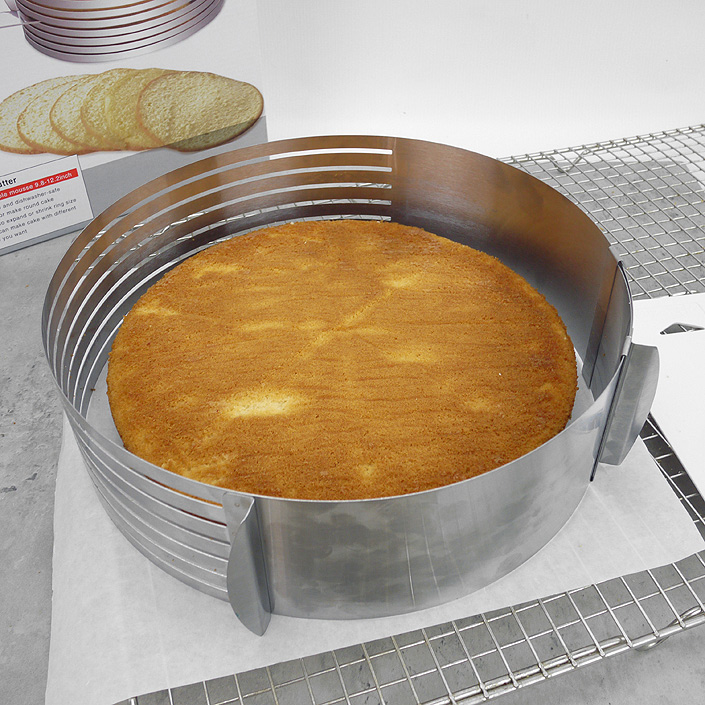 Place the cake slicer over the cake.
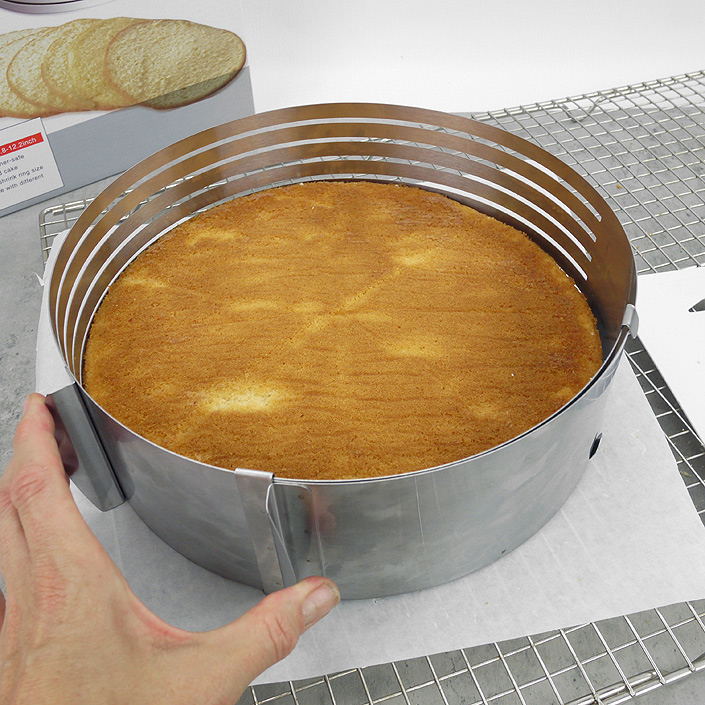 Adjust by pulling the two handles towards each other so that it fits tightly around the cake.
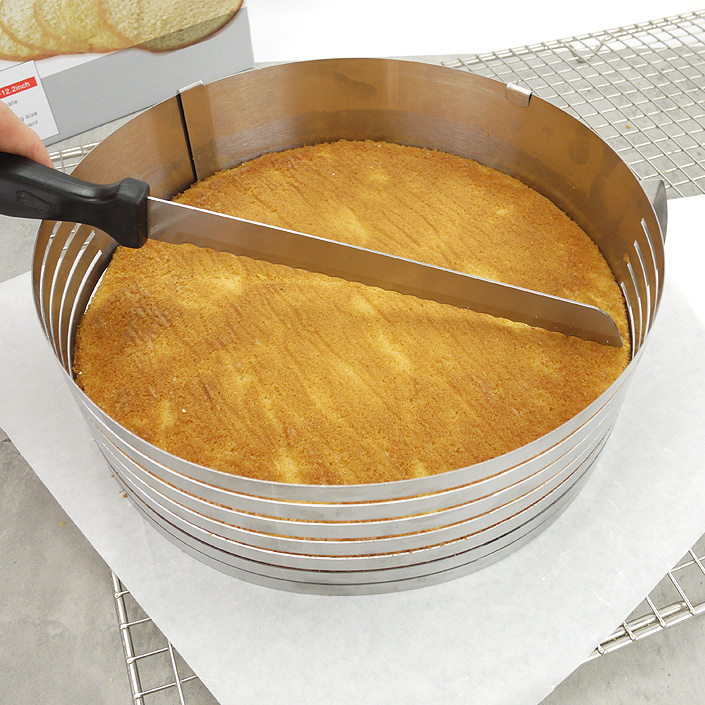
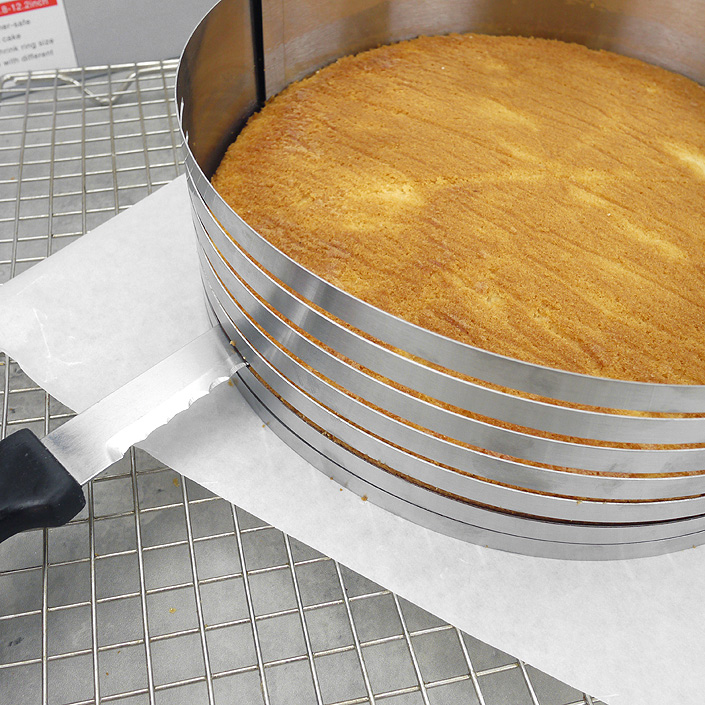
 Release the cake slicer, turn to the other side of the cake and pull in tight again. Make sure you insert the knife and cut at the same depth, slicing through the remaining half of the cake to the middle, following the mark you made on top. Always have the cake facing you when slicing!