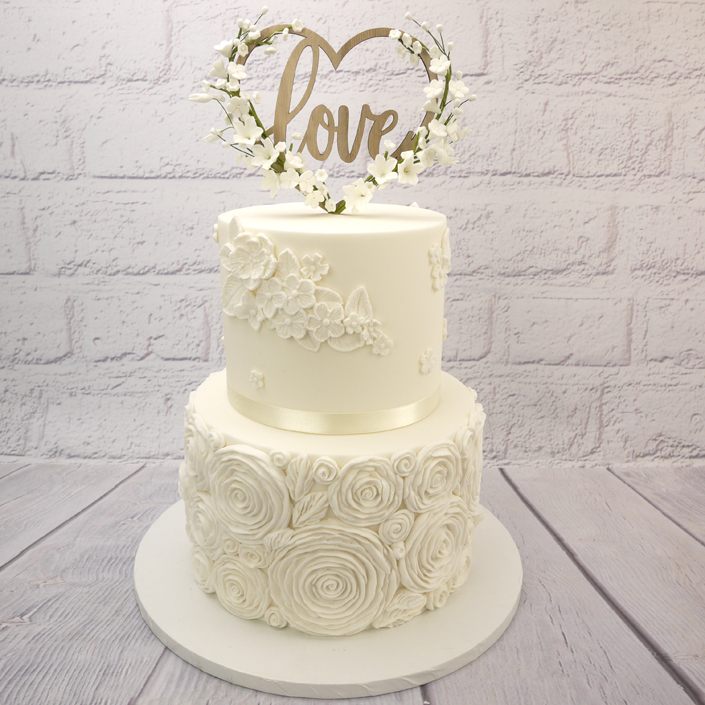
This stunning, elegant floral cake is perfect for a wedding, or any other special celebration. It may look show-stopping, but it’s actually so easy to do when you use our brand new Karen Davies moulds. Follow this step by step guide to find out how!
We used
Edibles
- 6″ and 8″ round deep cakes
- 2kg Sattina white sugarpaste
- Sattina 3 in 1 modelling paste
- Sattina perfect paste
- Jem petal base
- Cornflour pouch
- Edible glue or royal icing
Equipment
- Cake smoother
- Bellissimo smoother
- Dowels
- Karen Davies ruffled roses mould
- Karen Davies brush embroidery mould
- Small straight palette knife
- Wooden ‘love’ heart cake topper
- Small non-stick rolling pin
- 6″ single thick round card
- 12″ round white cake drum/board
- Small brush
.
COVERING THE CAKE
We first covered 2 deep cakes in white sugarpaste using a cake smoother to achieve a smooth professional finish, then a Bellissimo smoother to create the sharp, crisp straight edges around the tops. Check out our YouTube video ‘How To Cover A Cake With Straight Edges & Create A Flawless Finish’ to see how Claire at Delicious Occasions achieves this look!
Once the cakes are covered, place the bottom tier on a 12″ round white cake board and the top tier on a 6″ round cake board (leave the cakes at least 24 hours so the icing can set firm). Assemble the cakes carefully, not forgetting to use 3 or 4 dowels in the bottom tier and use some royal icing between the cakes so that they do not move.
.
.
Step One: Ruffled Rose Side Design
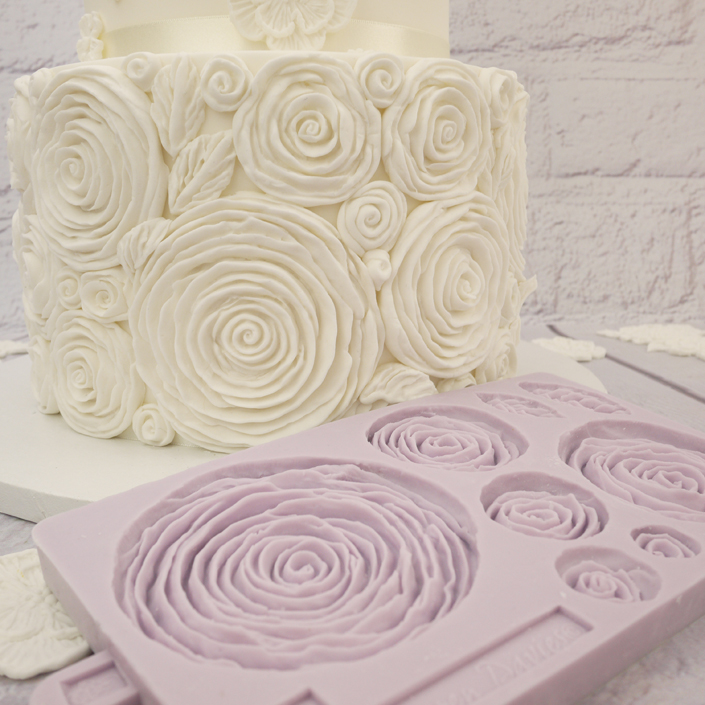
The bottom tier is covered in ruffled roses using the Karen Davies ruffled rose mould. It’s super easy to use:
.
Rub Petal Base Into The Mould
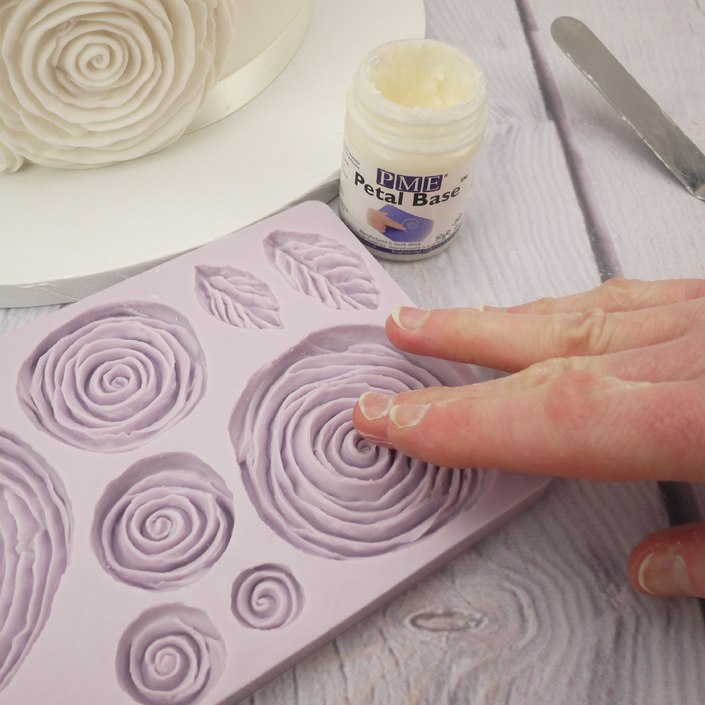
This will stop the sugarpaste from sticking to the mould.
.
Modelling Paste
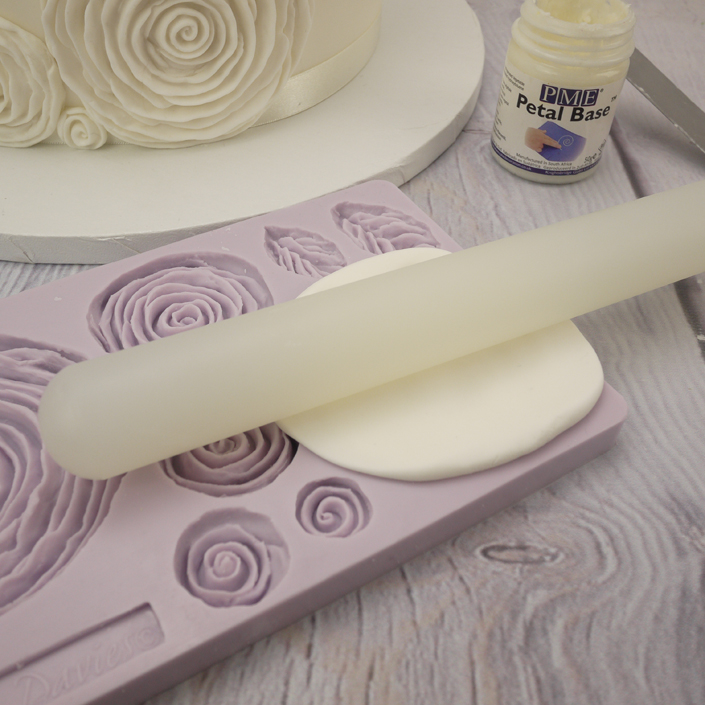
Knead some modelling paste so that it is pliable then form a ball, flatten and push into the mould. Roll over with a small rolling pin.
.
Cut Excess
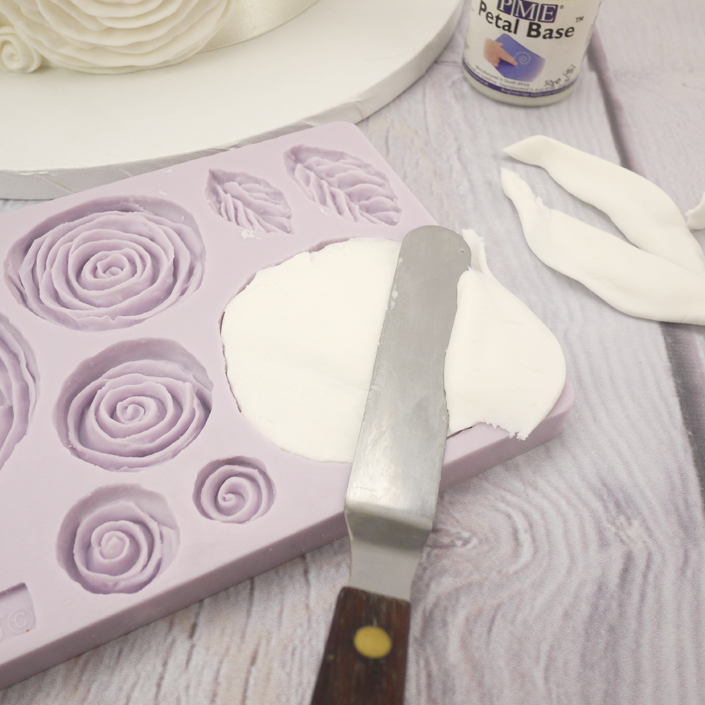
Cut away any excess icing with a small palette knife, working from the inside to the outside.
.
Take Rose Out

Turn the mould over and ease the rose out.
.
Attach To The Cake
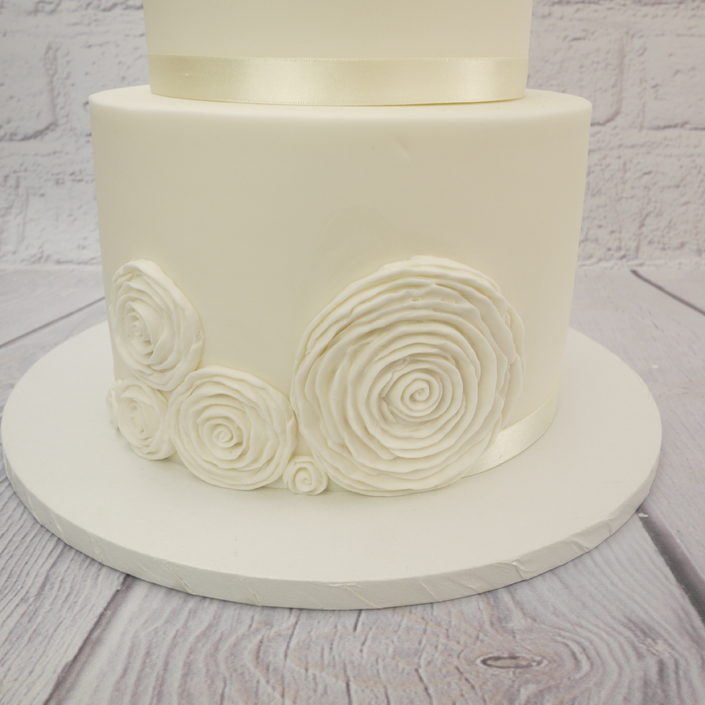
Attach to the cake with royal icing or edible glue.
.
Step Two: Brush Embroidery Side Design
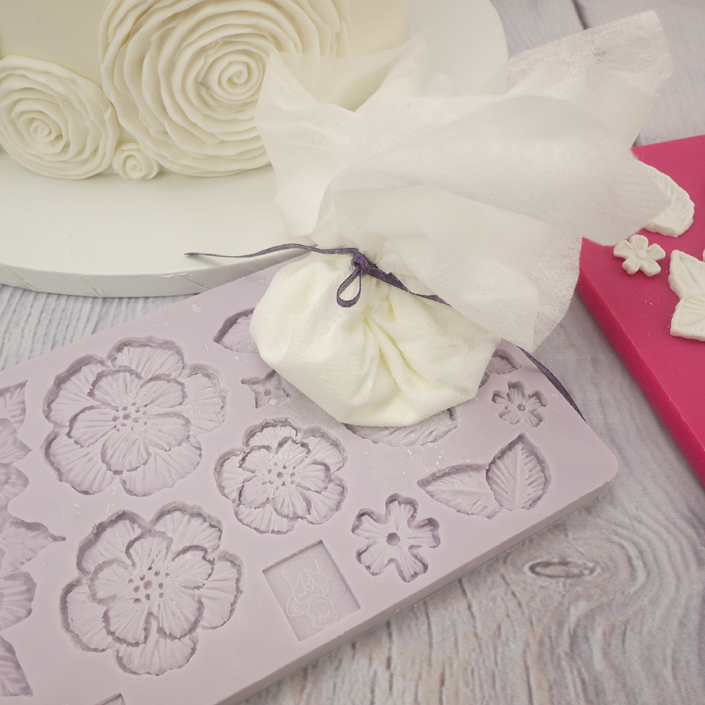
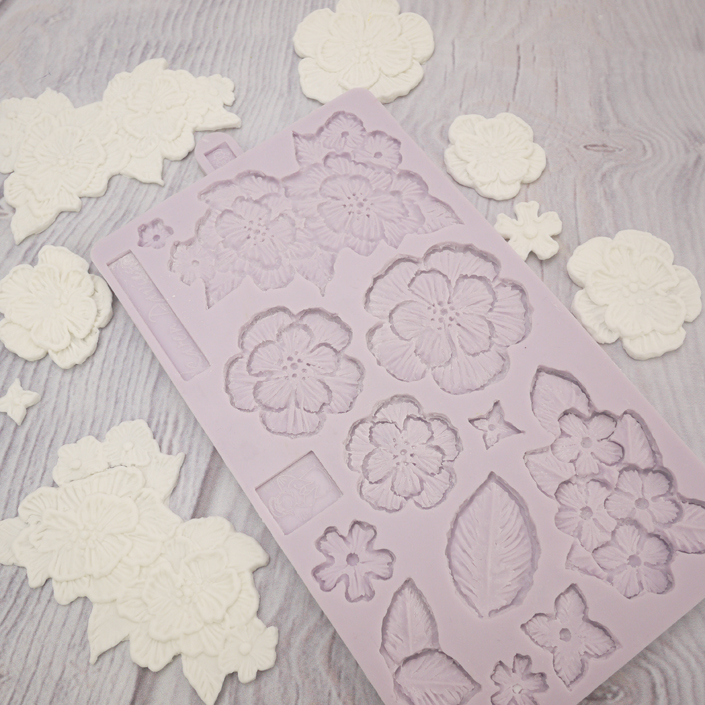
The top tier is decorated using the Karen Davies brush embroidery mould. The method is exactly the same, only this time we dusted the mould with a cornflour pouch instead of Jem petal base. You can leave the embroidery white or paint with dusts and a little rejuvenator spirit.
.
We have put together a quick YouTube video showing you how to easy these ruffles and brush embroidery decorations are to make!
.
Step Four: ‘Love’ Heart & Floral Topper
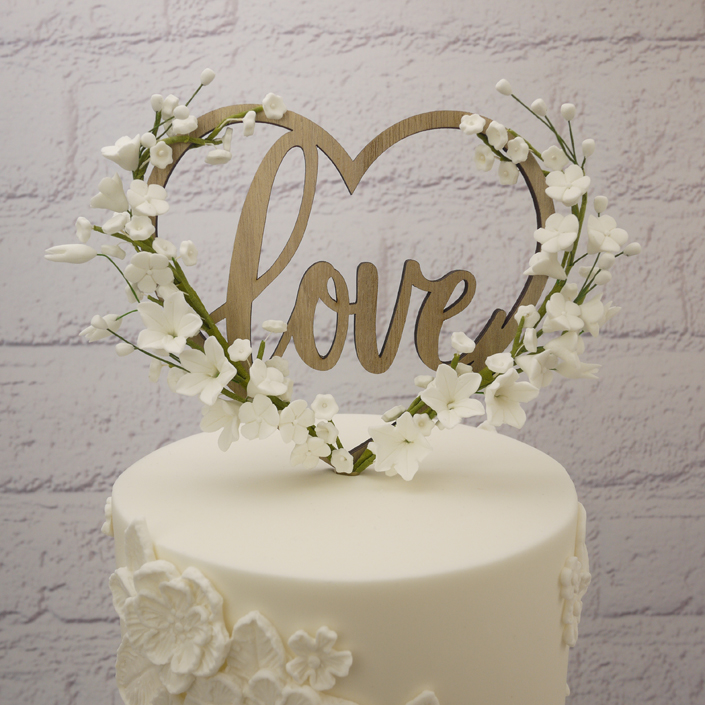
If you don’t have time to make your own sugar flowers, we have a fantastic selection of sugar flowers that you can use to accompany the ‘love’ wooden heart topper.
.
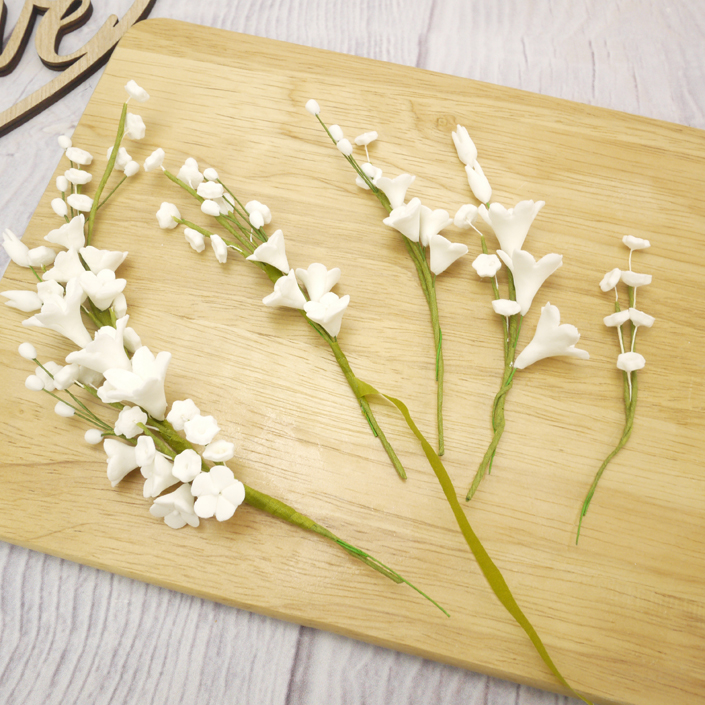
Once you have chosen your flowers (we used sugar Baby’s Breath, Jasmine & Forget-Me-Nots), lay them out so that you can see how many to use on one side of the heart. Tape together using green florist tape then when you are happy, repeat for the other side of the heart.
.
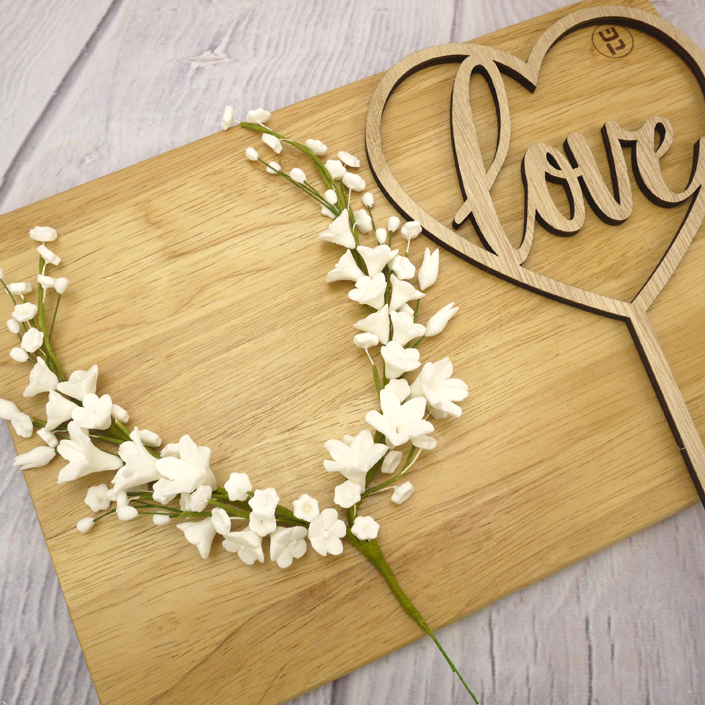
Tape the flowers firmly together at the bottom.
.
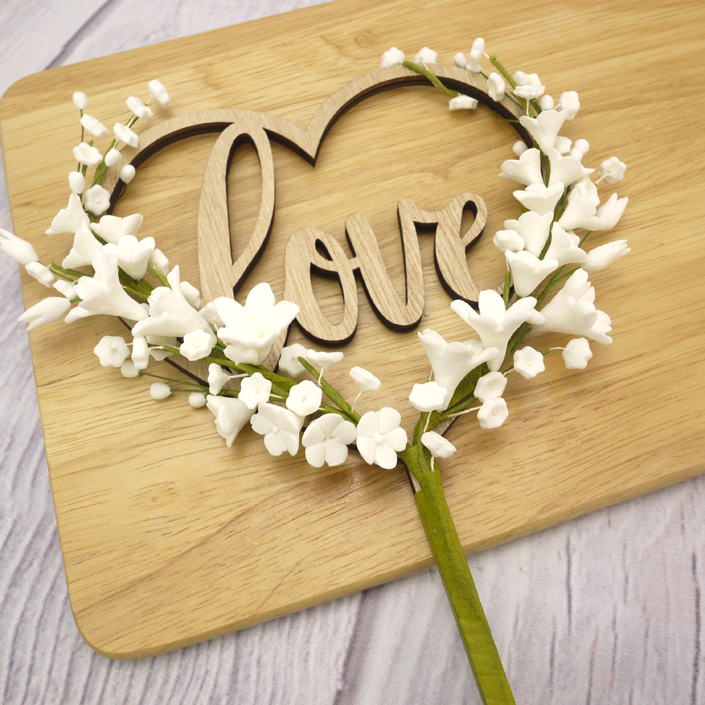
Tape the flowers to the heart at the bottom then use some small lengths of green wire to secure the flowers at the top of the heart. The heart topper comes with a food safe flower pick so that it can easily be inserted into the cake.
.
Colouring The Flowers
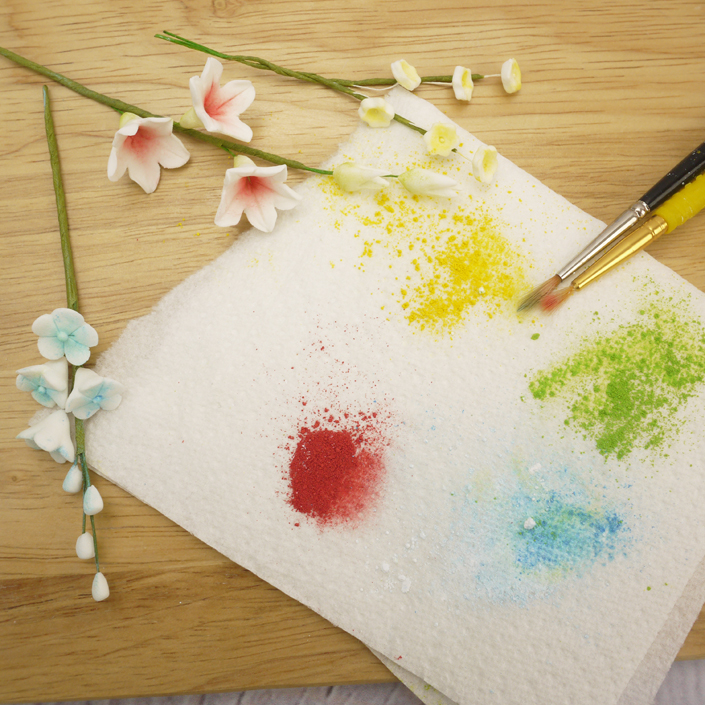
You can colour white sugar flowers with edible powder colours. Pop some of the powder colouring onto a piece of kitchen paper then use a soft brush to brush the colouring over the flower. Remember, you can always add more colour but not take it away!
.
Lastly, if you are really short of time – you can buy the heart cake topper already decorated with flowers on the website!
.
Handy Hint!
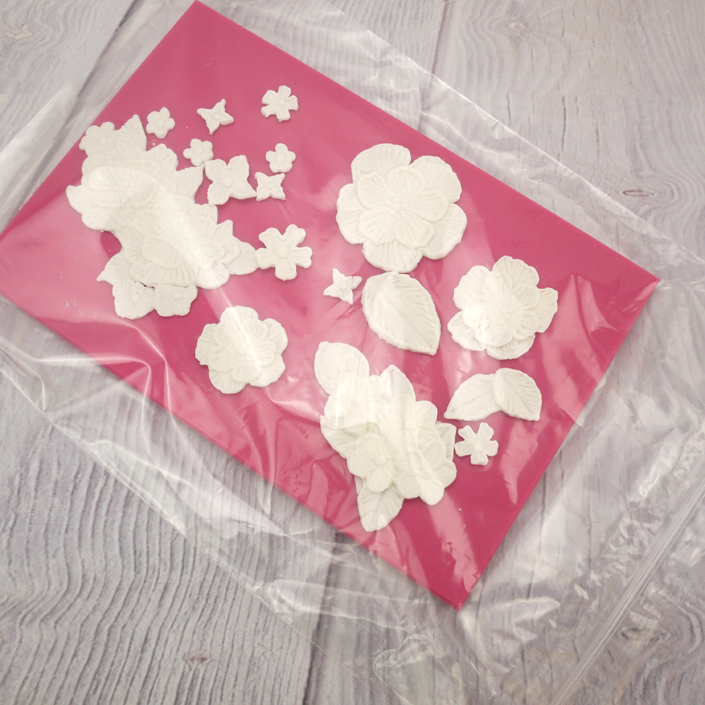
Cover your decorations in a food safe plastic bag to keep them soft so that they can be easily attached to the side of a curved cake!